Elementor 101 · Lesson 02
Install and set up Elementor the right way
Hello theme, the free plugin, Pro activation and the handful of settings worth changing on day one.
Written for Elementor 4.3.3 · Elementor Pro 4.3.1 · Updated October 2026
01Check your hosting first
Most Elementor problems blamed on the plugin are really hosting limits. Before installing anything, check these three with your host or in your hosting panel:
- A current PHP version. Use the newest version your host offers that WordPress supports. Old PHP makes the editor slow and plugins break.
- Enough PHP memory. 256 MB is a comfortable minimum for the editor. Hosts call it memory_limit.
- The WordPress REST API is reachable. The Theme Builder and parts of the editor load data through it. Some security plugins block it, and then things fail silently.
02Install the Hello Elementor theme
Elementor works with any well-built theme. But if Elementor will design the whole site, you want a theme that stays out of the way. Hello Elementor is free and almost empty on purpose, so you get no conflicting styles and no extra settings to fight.
- Go to Appearance › Themes › Add New Theme.
- Search for Hello Elementor, then click Install and Activate.
03Install free Elementor and finish onboarding
- Go to Plugins › Add New Plugin and search for Elementor. Look for the "Elementor Website Builder" plugin by Elementor.com.
- Click Install Now, then Activate.
- The onboarding flow opens. Connecting a free Elementor account is optional but unlocks the template library and AI trials. You can skip the starter-kit offer, because this course builds from scratch.
On a new install, Atomic features are already switched on. You will see the Atomic Elements group at the top of the Elements panel the first time you open the editor.
04Add Elementor Pro (optional)
Elementor Pro isn't on wordpress.org. It's a separate plugin that you download from your account, and it needs the free plugin to stay active.
- Log in to your Elementor account and download the Pro plugin (a
.zipfile). - In WordPress, go to Plugins › Add New Plugin › Upload Plugin, choose the zip, then click Install Now › Activate.
- Click Connect & Activate when prompted and approve the connection in your account. Without this step Pro runs, but you get no updates.
05Settings worth changing on day one
Elementor's admin settings live under Elementor in the WordPress sidebar. Change only a few things now:
- Post types. Choose which content types Elementor can edit. Pages are enabled by default. Leave Posts off if you plan to design blog posts with Theme Builder templates and keep writing them in the WordPress editor.
- Performance. Elementor bundles its speed options on the Performance tab: optimized loading, lazy-loaded backgrounds, local Google Fonts and so on. The defaults on new sites are sensible, so turn things on rather than off.
- Atomic Editor. Leave it on. You can find it under Elementor › Editor › Settings › Atomic Editor.
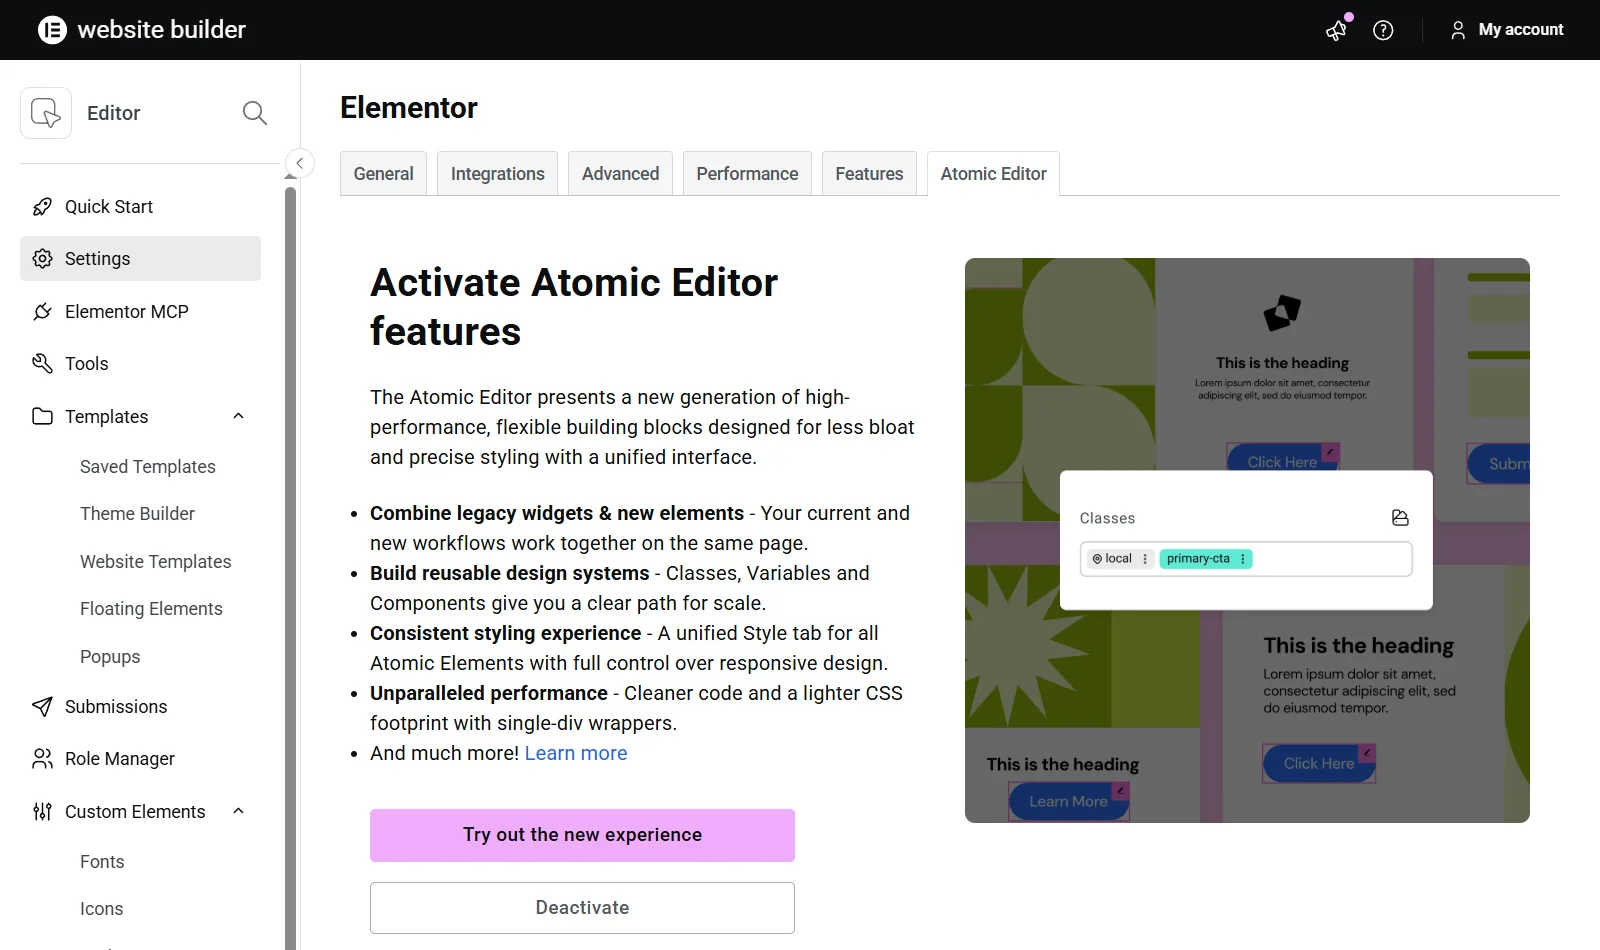
Then set the page layout. Create a test page, open it with Edit with Elementor, and in the page settings choose Elementor Full Width for a layout with the header and footer, or Elementor Canvas for a blank page with no header or footer.
06Common mistakes
- Deleting the free plugin after installing Pro. Pro is an add-on. Without the free plugin, every Elementor page breaks.
- Installing five "Elementor addon" plugins on day one. Each one adds weight. Learn the core elements first and add plugins only for a specific gap.
- Leaving the license disconnected. An unconnected Pro gets no updates, and old plugins are the most common way WordPress sites get hacked.
✓Quick quiz
Three questions to check the essentials. Get them all right to complete the lesson.